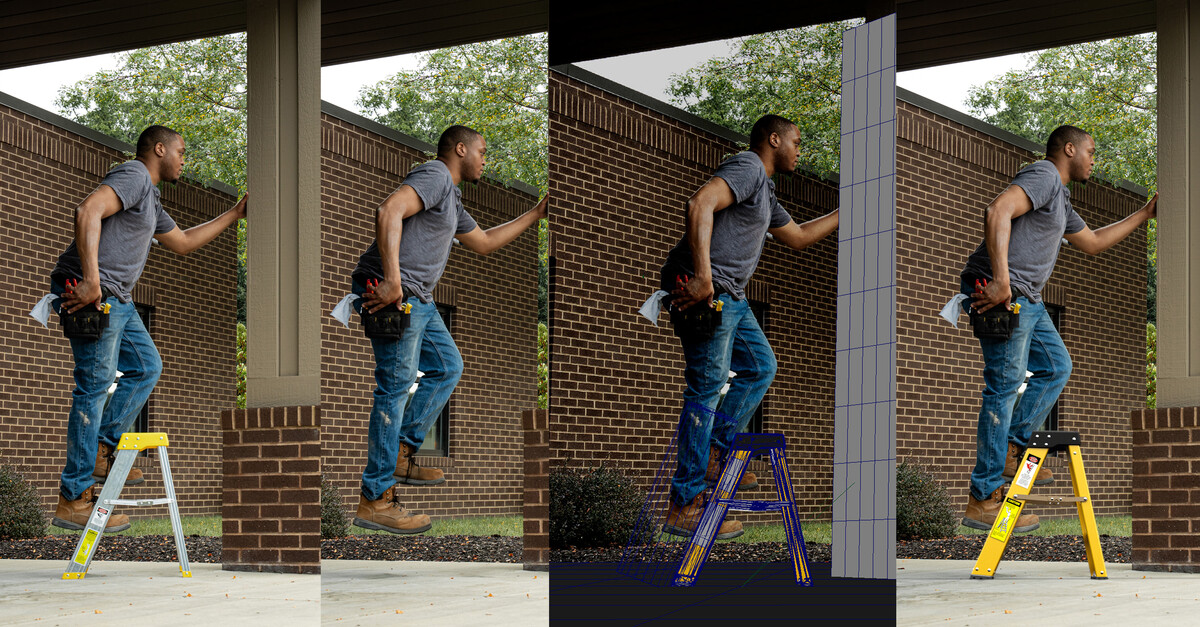
Product Lifestyle Image Updates with CG Rendering
Lifestyle Photography Updating Images with CG Replacement
In certain workflows, the ask is not to create new lifestyle imagery from scratch, but to update existing photography assets to reflect product changes, revised finishes, or updated VBL (Version, Brand, and Label) specifications. Rather than scheduling an entirely new photo shoot, CG rendering and compositing allow the team to replace the product shown in the existing photography with an accurate 3D render of the current product offering, extending the useful life of the original shoot assets without the cost and coordination of going back on set.
When lifestyle photo shoots are planned with a CG replacement workflow in mind from the start, the set provides critical technical data: focal length, F/stop, set survey measurements, on-set reference photography, and HDRI captures. This information is what allows the CG render to align precisely with the existing photography. When working from images that have already been archived in a Digital Asset Manager, there is a reasonable chance that some or all of this original shoot metadata is no longer intact. In those cases, tools like FSpy are used for camera matching, or a visual approximation workflow is applied to manually match the focal length and perspective of the scene before proceeding with the 3D lineup.
The intention throughout this process is to produce great-looking product imagery for marketing use. Real-world photo shoots, no matter how carefully prepared, result in products showing some degree of surface wear. Usage marks, small scratches, and handling evidence are inevitable. CG rendering gives complete control over the product's surface condition, and while wear and imperfections can be added back through compositing for maximum realism, the marketing teams working with these assets typically prefer to take full advantage of the clean control that CG rendering offers. This is also where CG rendering delivers a consistent advantage for brand accuracy: matching Pantone values or specific Hex color codes to brand specification is far more precise and controllable in a CG environment than on a traditional photo shoot, where lighting conditions and physical material variation always introduce some deviation from the intended color.
Stages of the image setup:
- Clean image plate
- Export clean plate and lineup images for 3D setup and lineup
- Line up 3D product to the plate
- Add lighting and materials to integrate into the image
- Render multi-pass EXR files with needed passes including Cryptomatte Passes
- Composite the CG EXR files into the plate
- Final render and convert it into a layered PSD
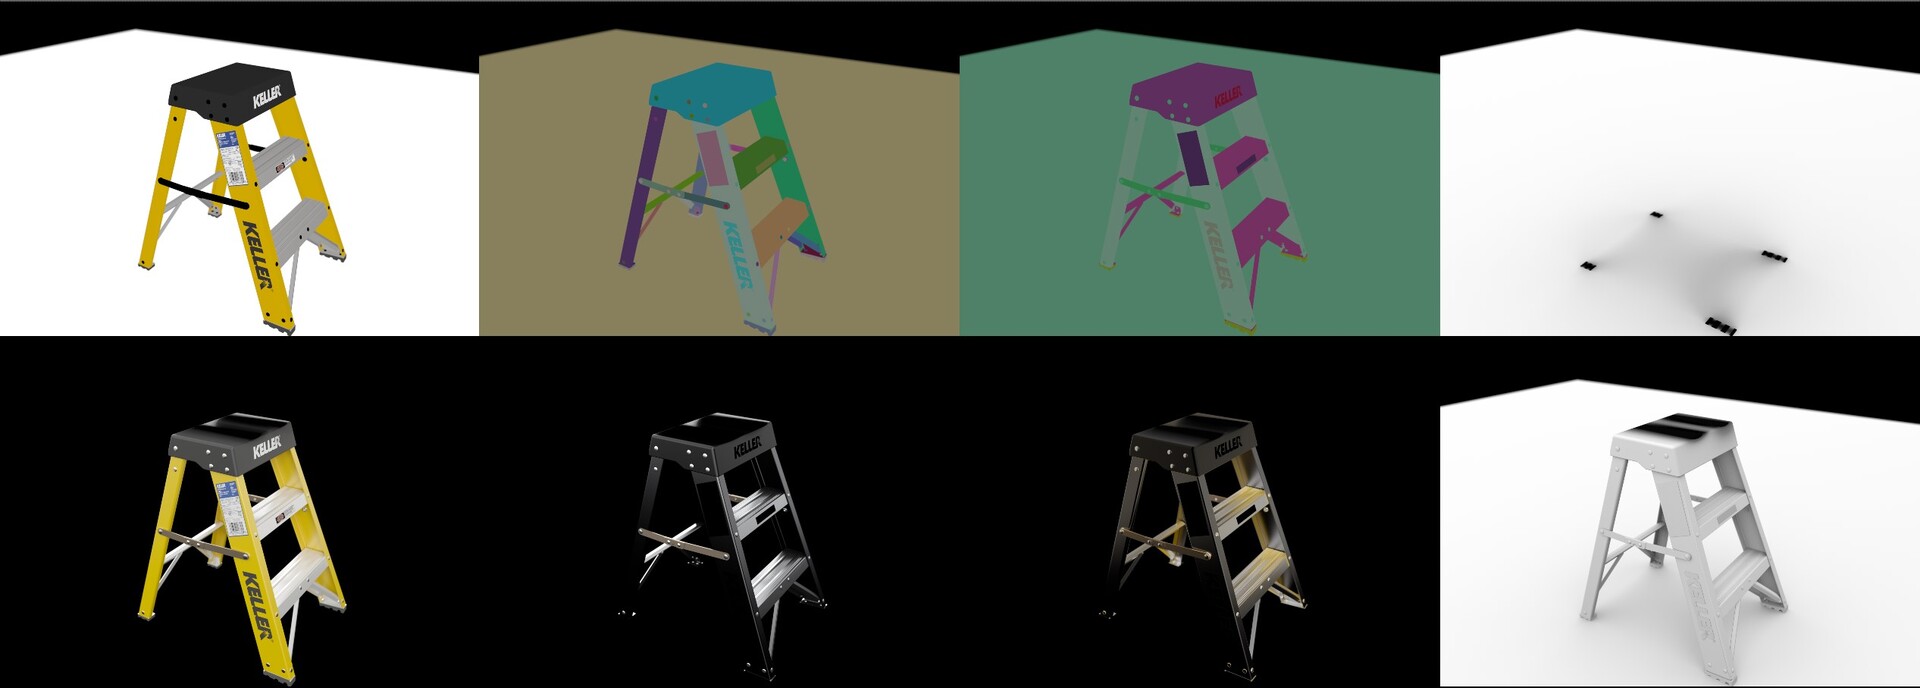
Stages of Replacement
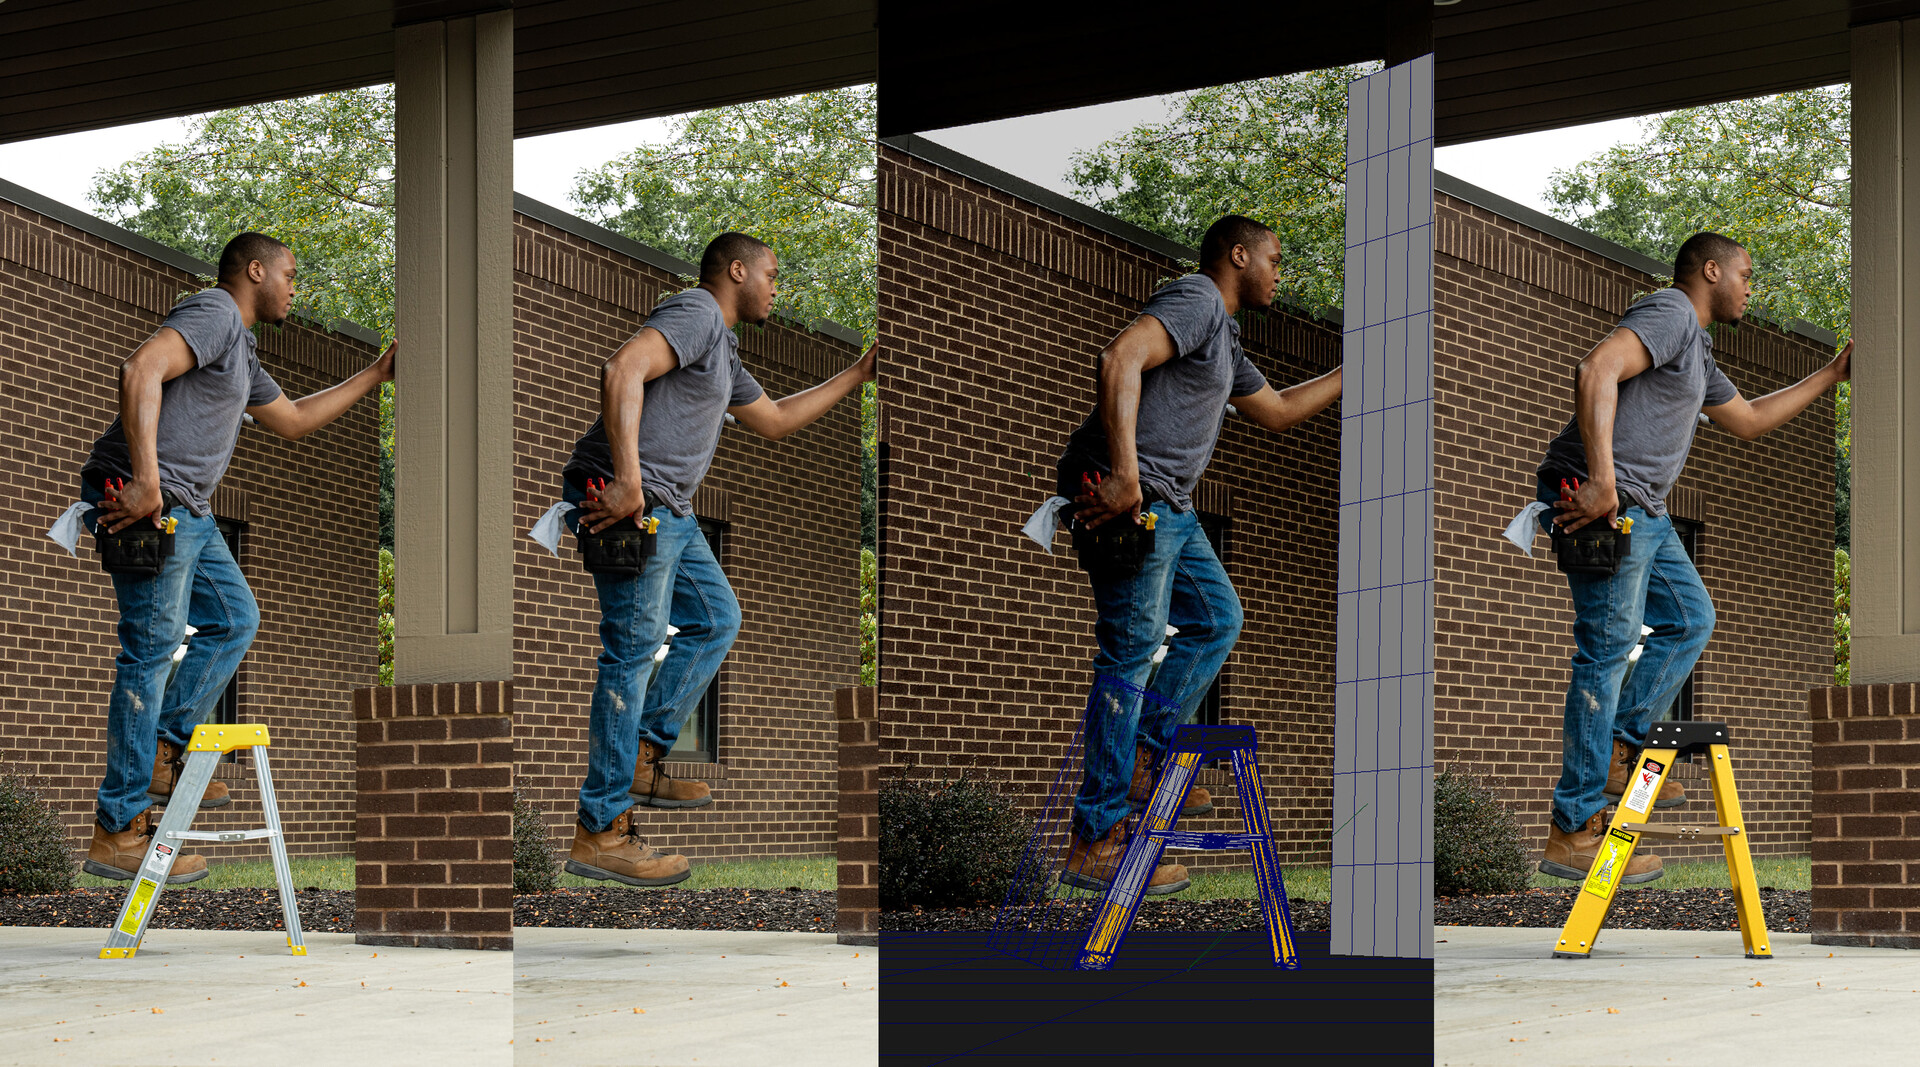
Stages of Replacement
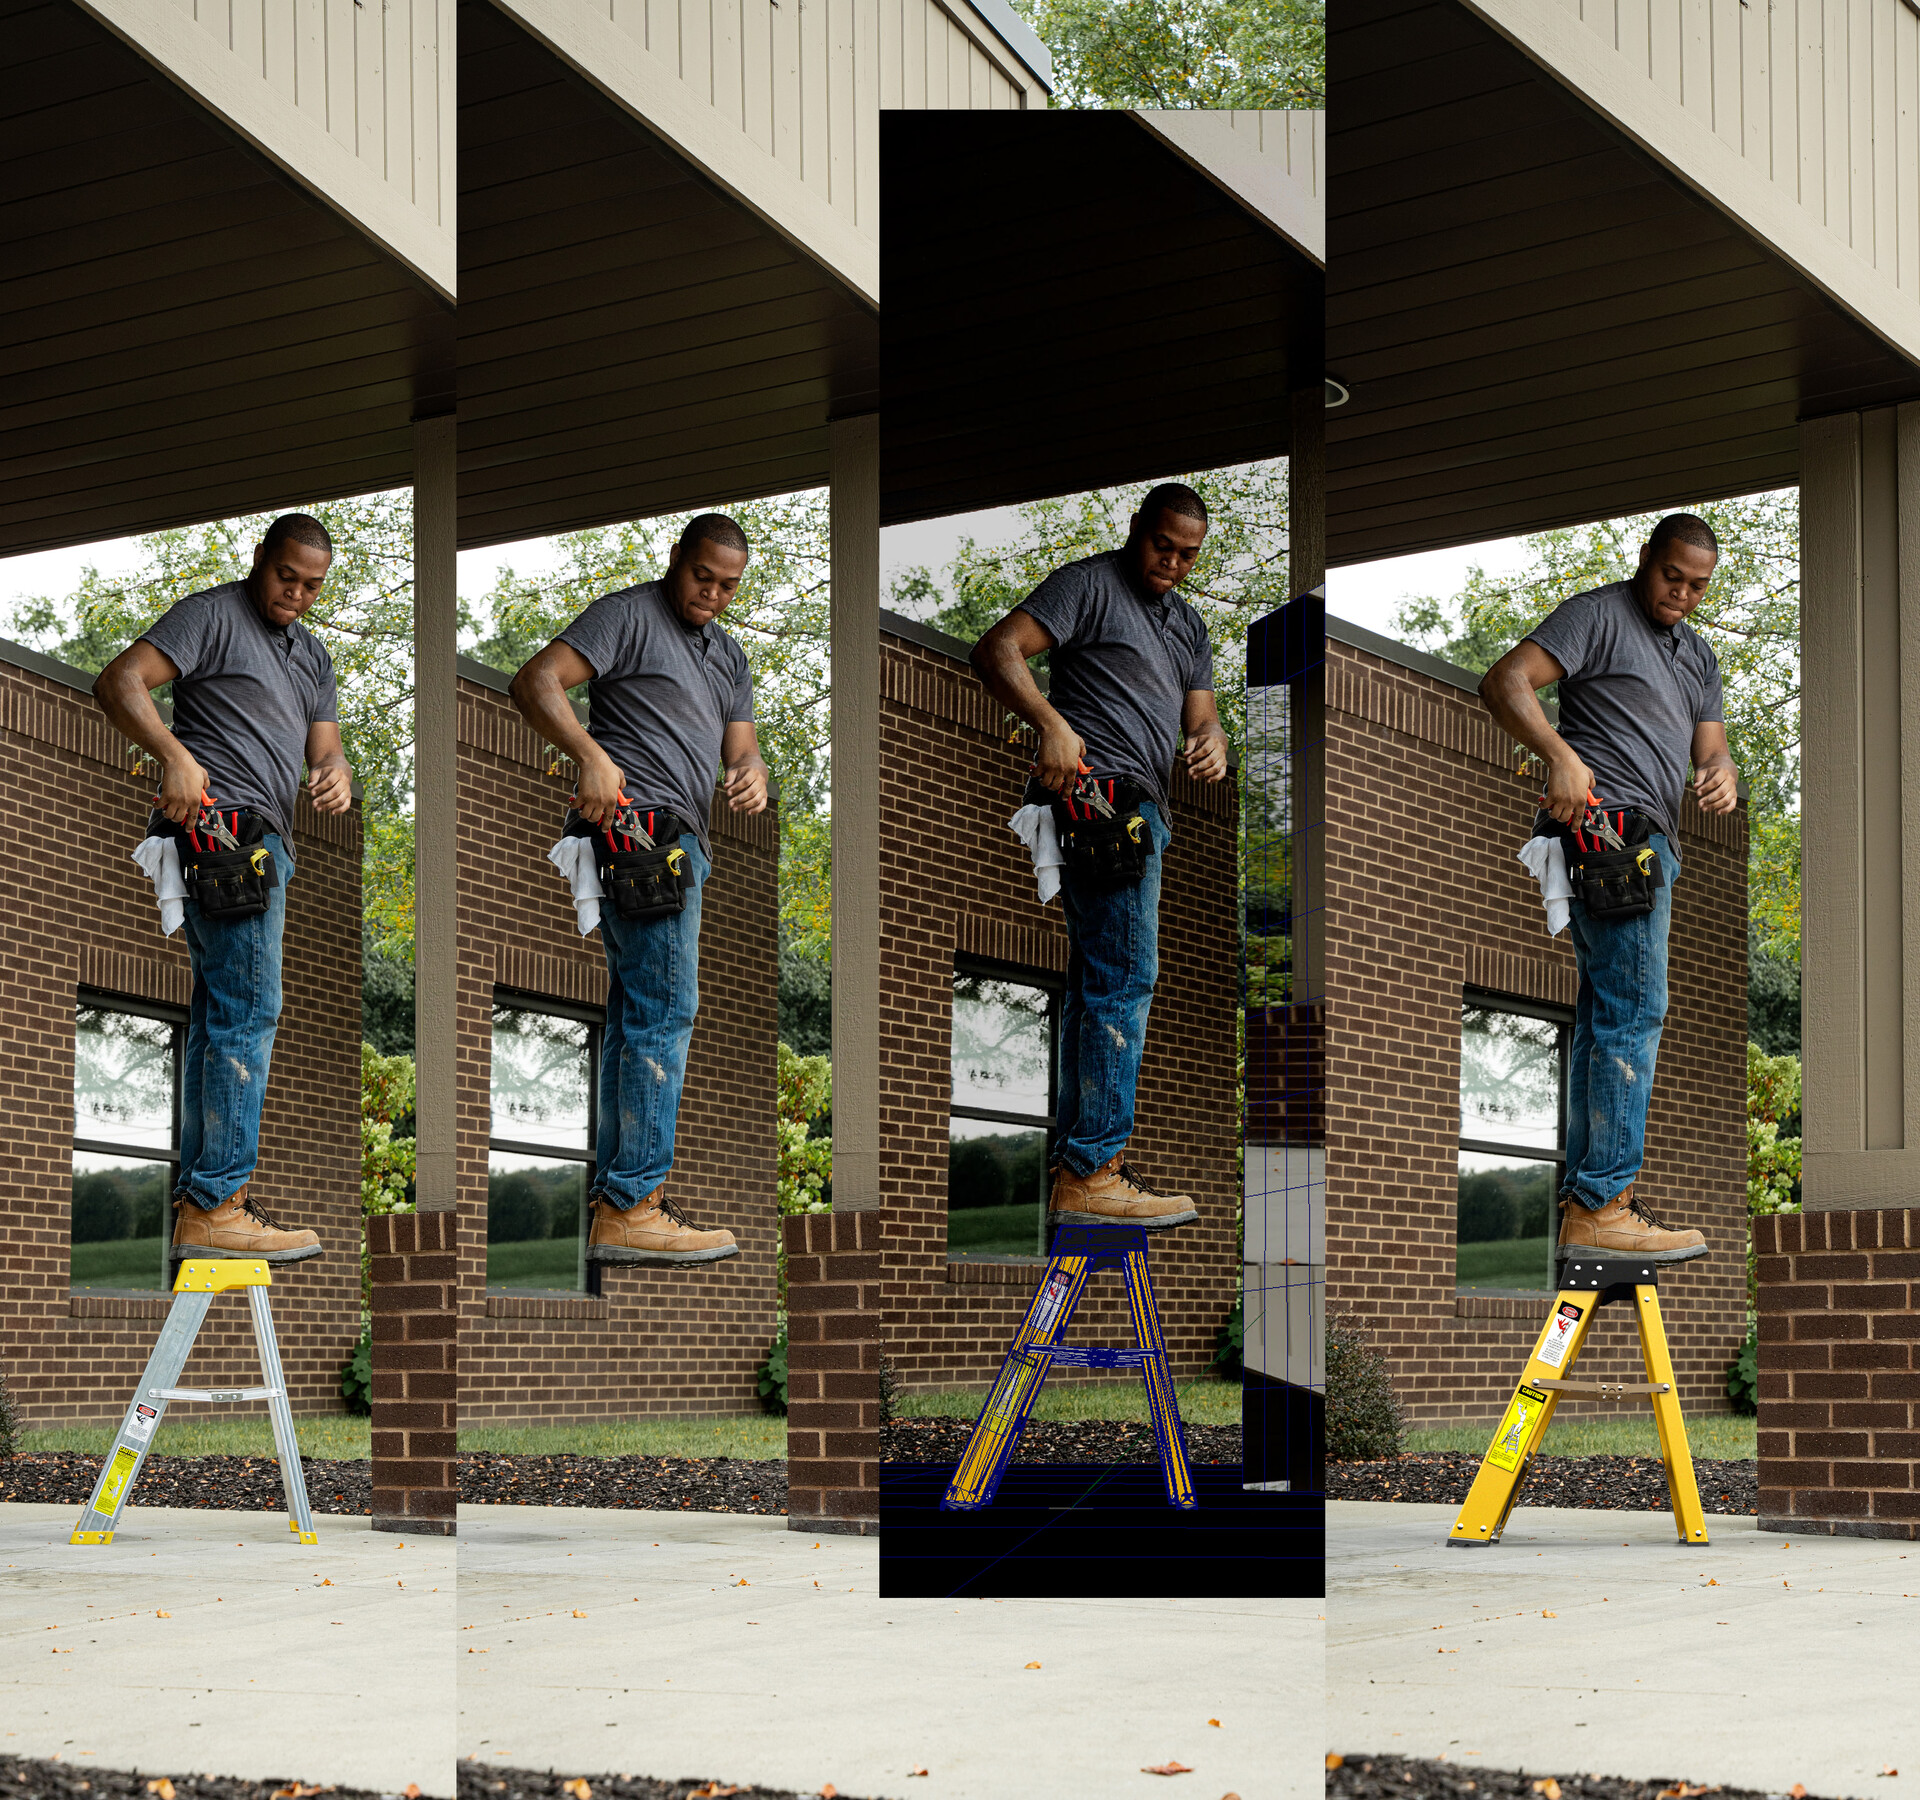
Stages of Replacement
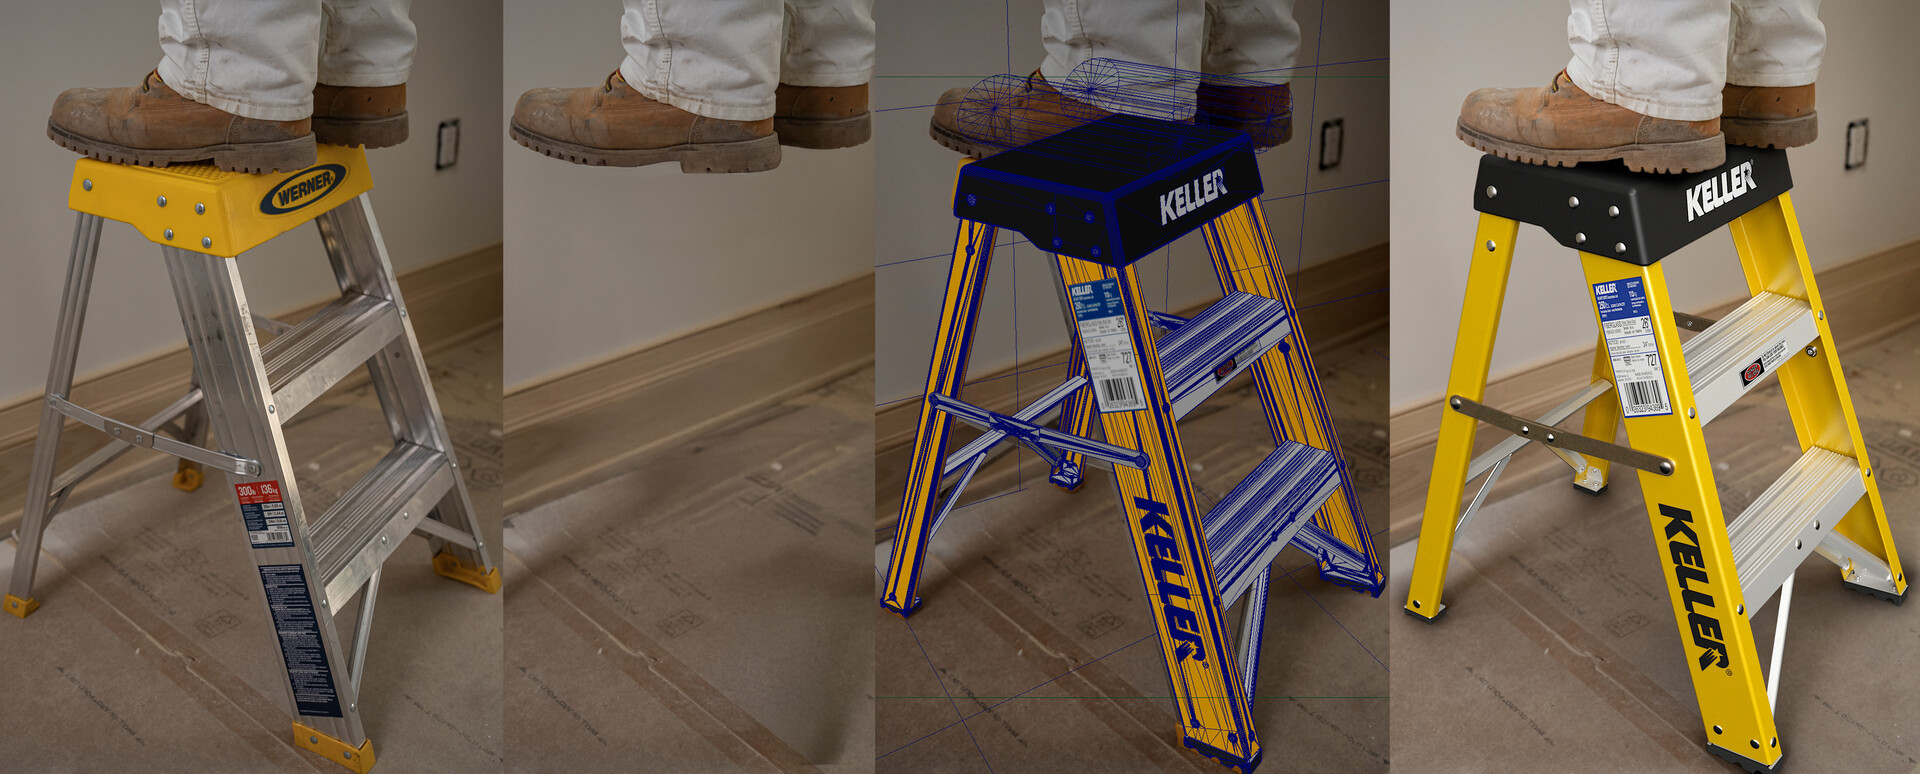
In most cases when updating imagery through CG renders, an early decision is made to lean into a clean, polished render. The physical ladders used in the original photo shoot have clear usage scratches and surface marks visible in the reference plates. Matching that level of wear in CG compositing is entirely possible, but when the brief is marketing imagery, the strength of CG rendering lies in the control it provides over the final look, and in most cases that means delivering the cleanest, most accurate product representation the asset will ever have.