Custom Product CAD Modeling: From Complex Assemblies to Specific-Use Design
Custom Product CAD Modeling
Every product project starts with a different amount of source data. Sometimes a client hands over a complete, manufacturing-grade CAD assembly. Sometimes there is nothing but a few photos and a wire drawing. Our modeling pipeline scales across that entire range, from highly complex assemblies down to the single proprietary feature that defines how a product is used.
When the CAD already exists
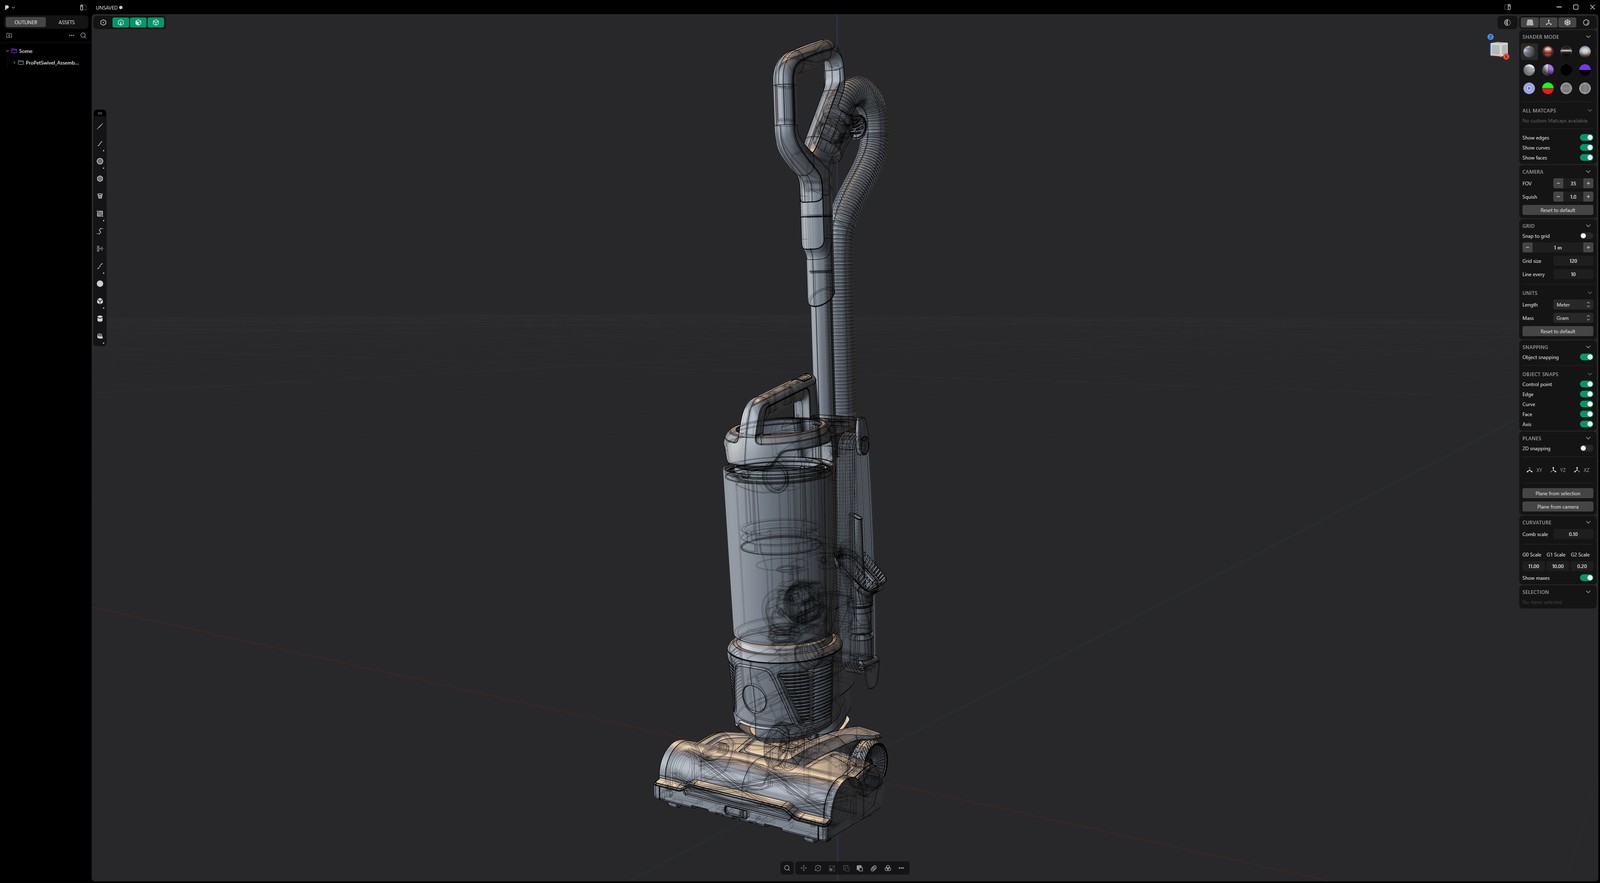
When a client has production CAD on hand, the work is about faithfully translating that data into a render-ready model without losing the detail that gives the product its character. The Hoover upright vacuum below is a good example: a dense, multi-part assembly with accurate topology carried all the way through to the moving components and surface contours.
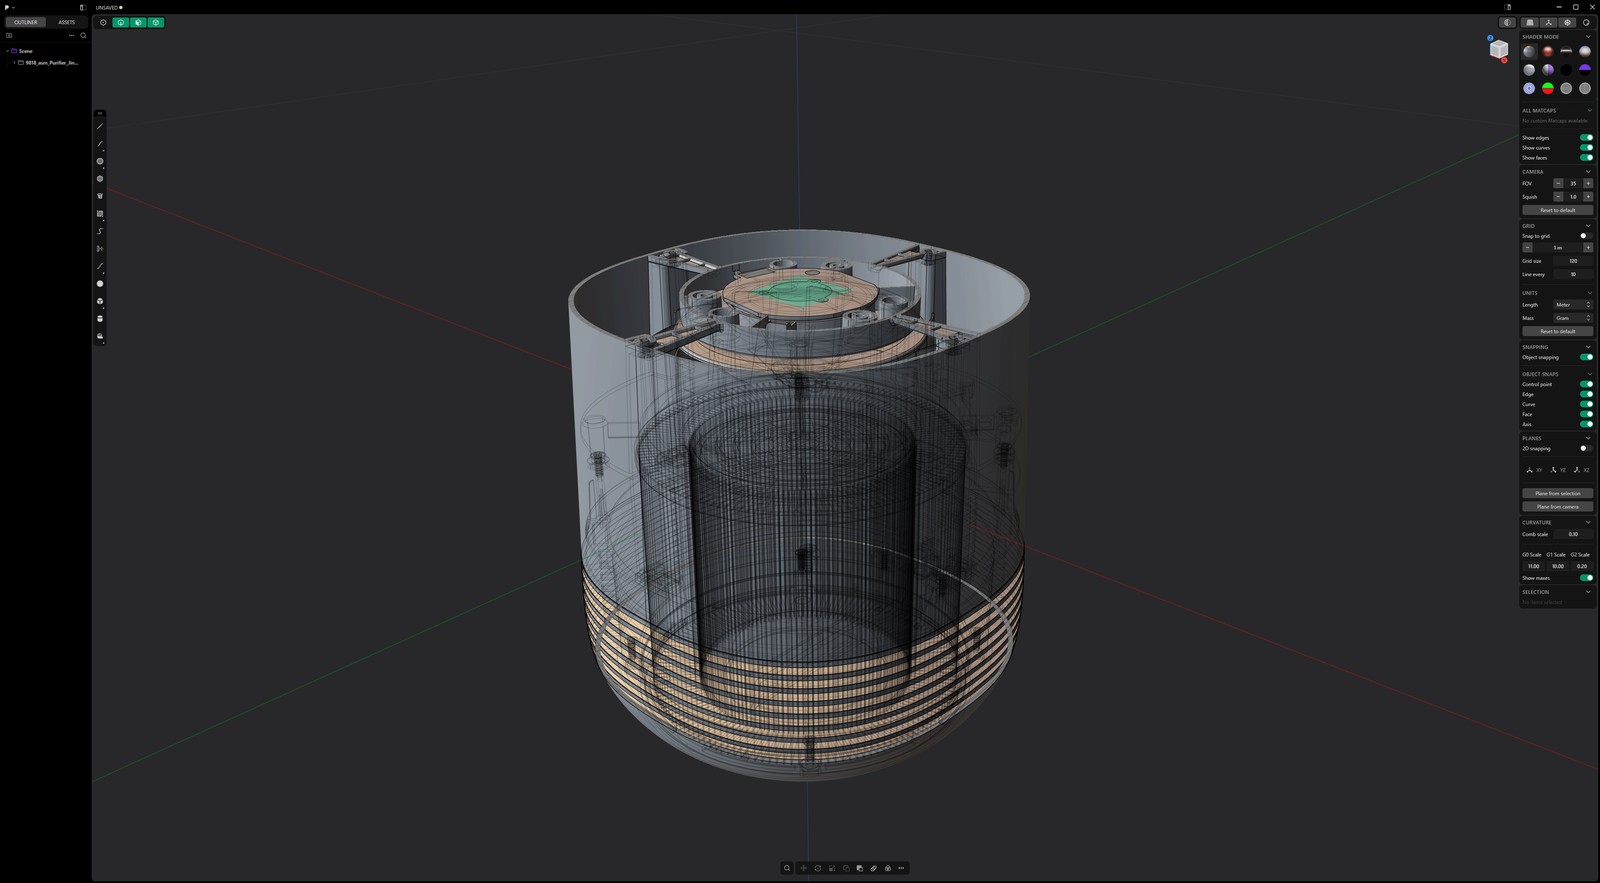
The same applies to internal mechanisms. For the Dirt Devil air purifier, the existing CAD let us model the full internal structure, so the filter stack and core components read accurately even in cutaway or x-ray treatments.
When there is no CAD to start from
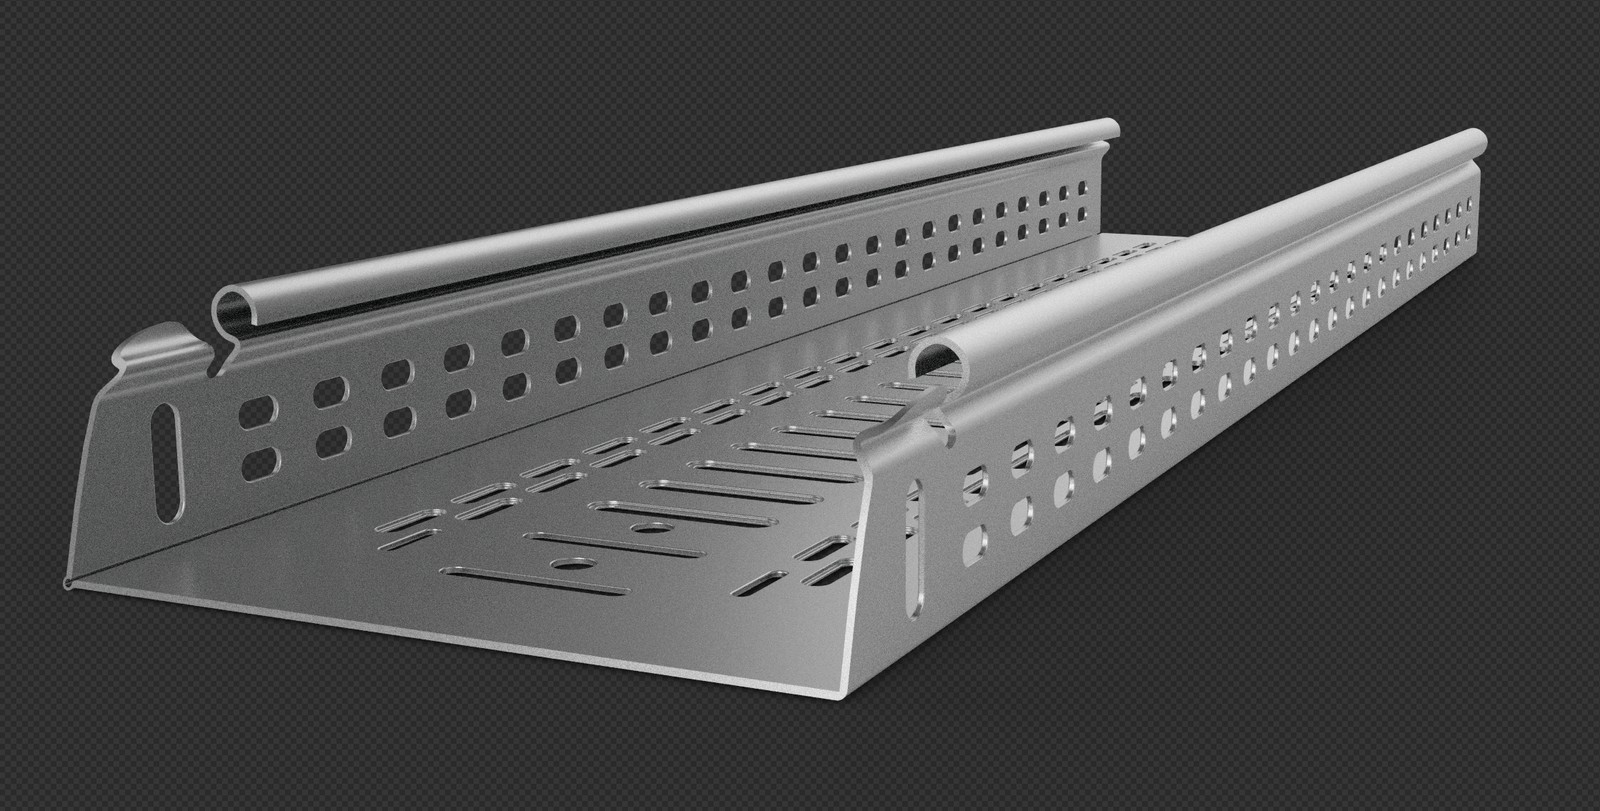
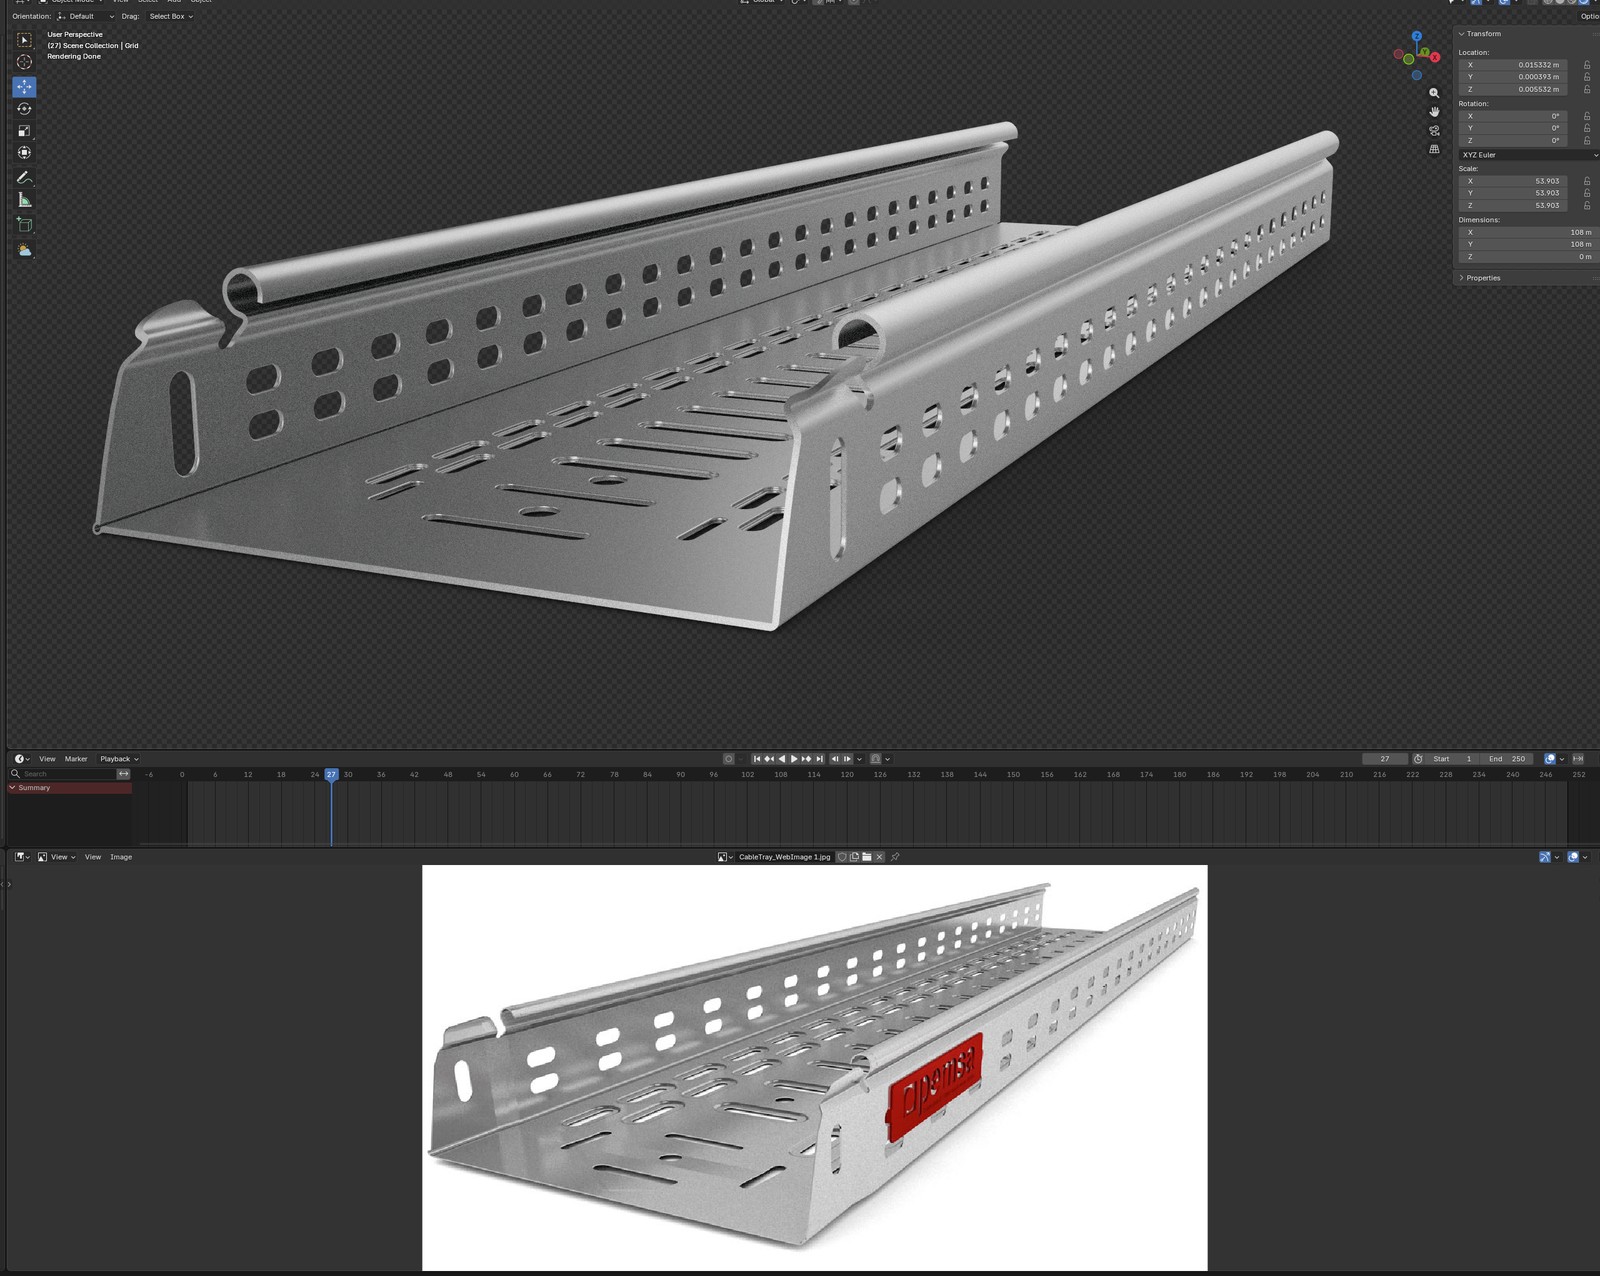
Not every project comes with files. In many cases we build the CAD model from scratch, working from nothing more than reference photography or a set of wire drawings. The cable tray below was reconstructed this way, with the clay model validated against a final comp reference to confirm proportions and the perforation pattern.
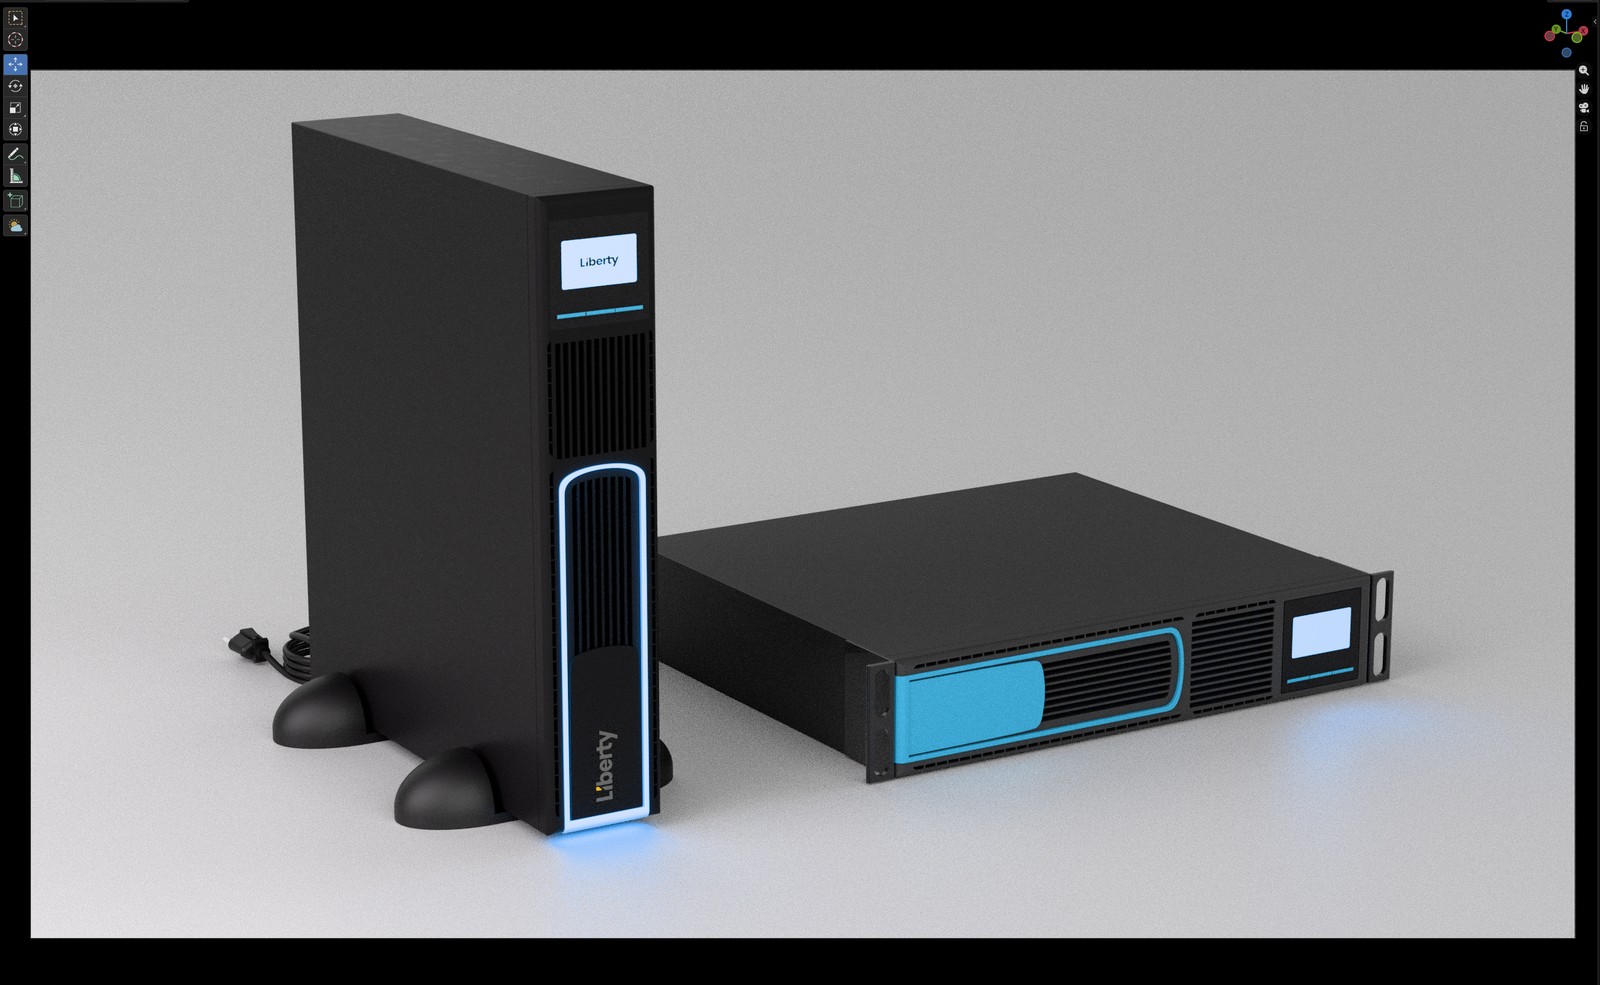
The UPS units were a similar reverse-engineering job. With only images and line drawings to go by, we built the geometry from the wireframe up and checked it against trace references for every face and vent.
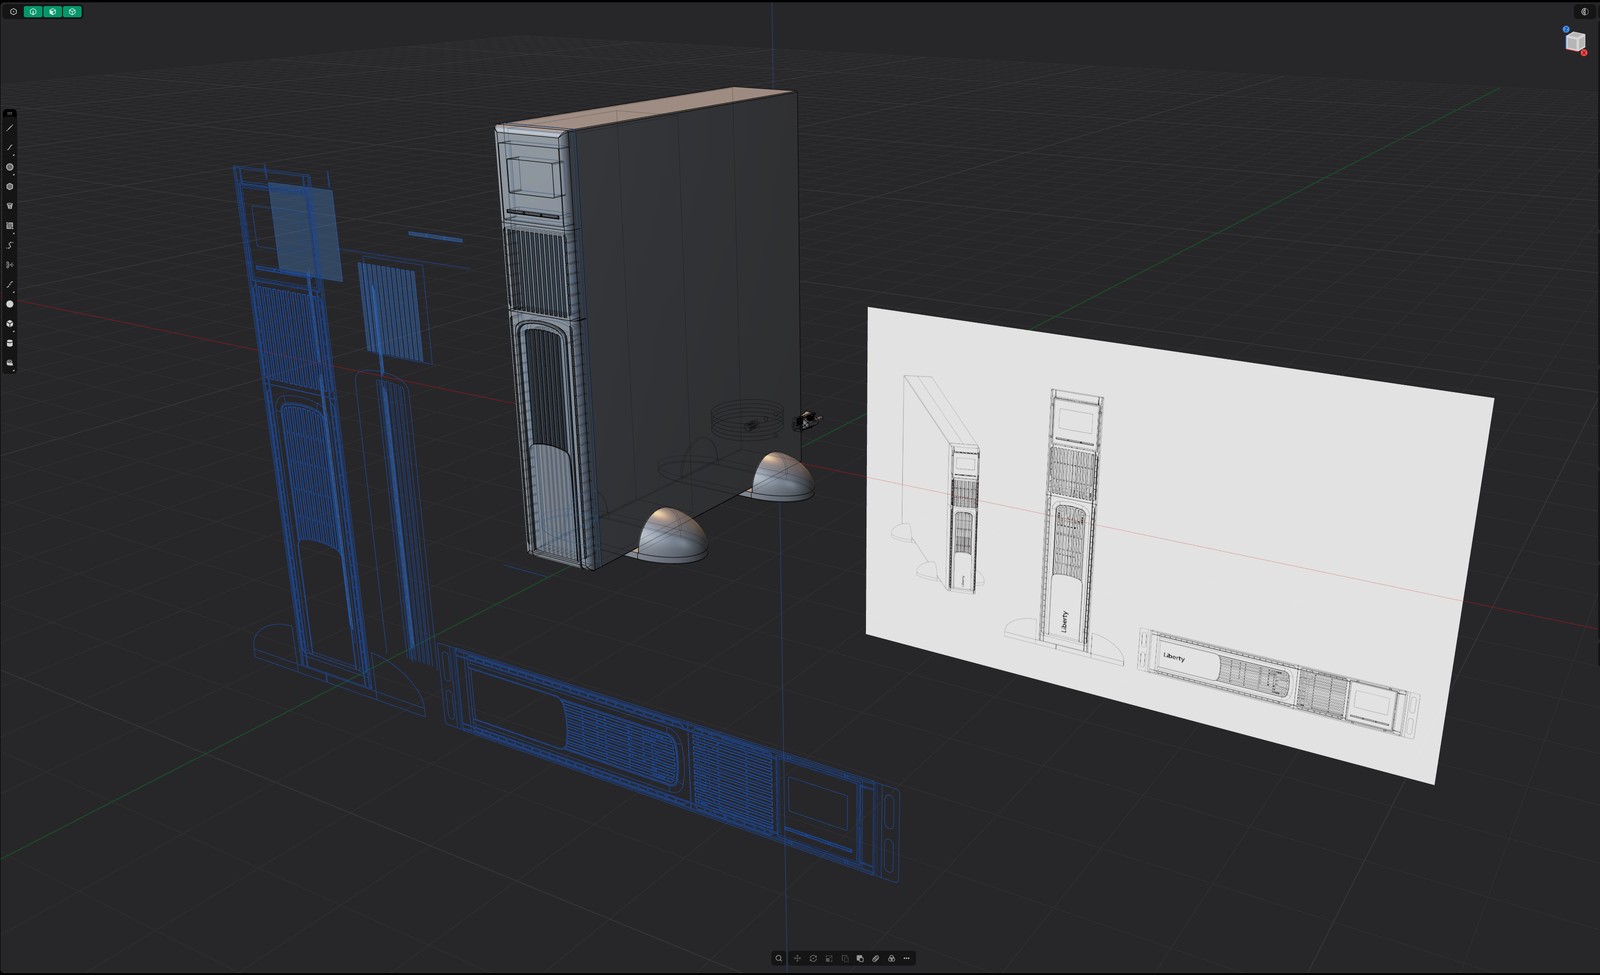
Once the geometry is confirmed, the same model carries into materials, lighting, and a finished render, so the reconstructed CAD performs exactly like a client-supplied asset would.
When the detail is the whole point
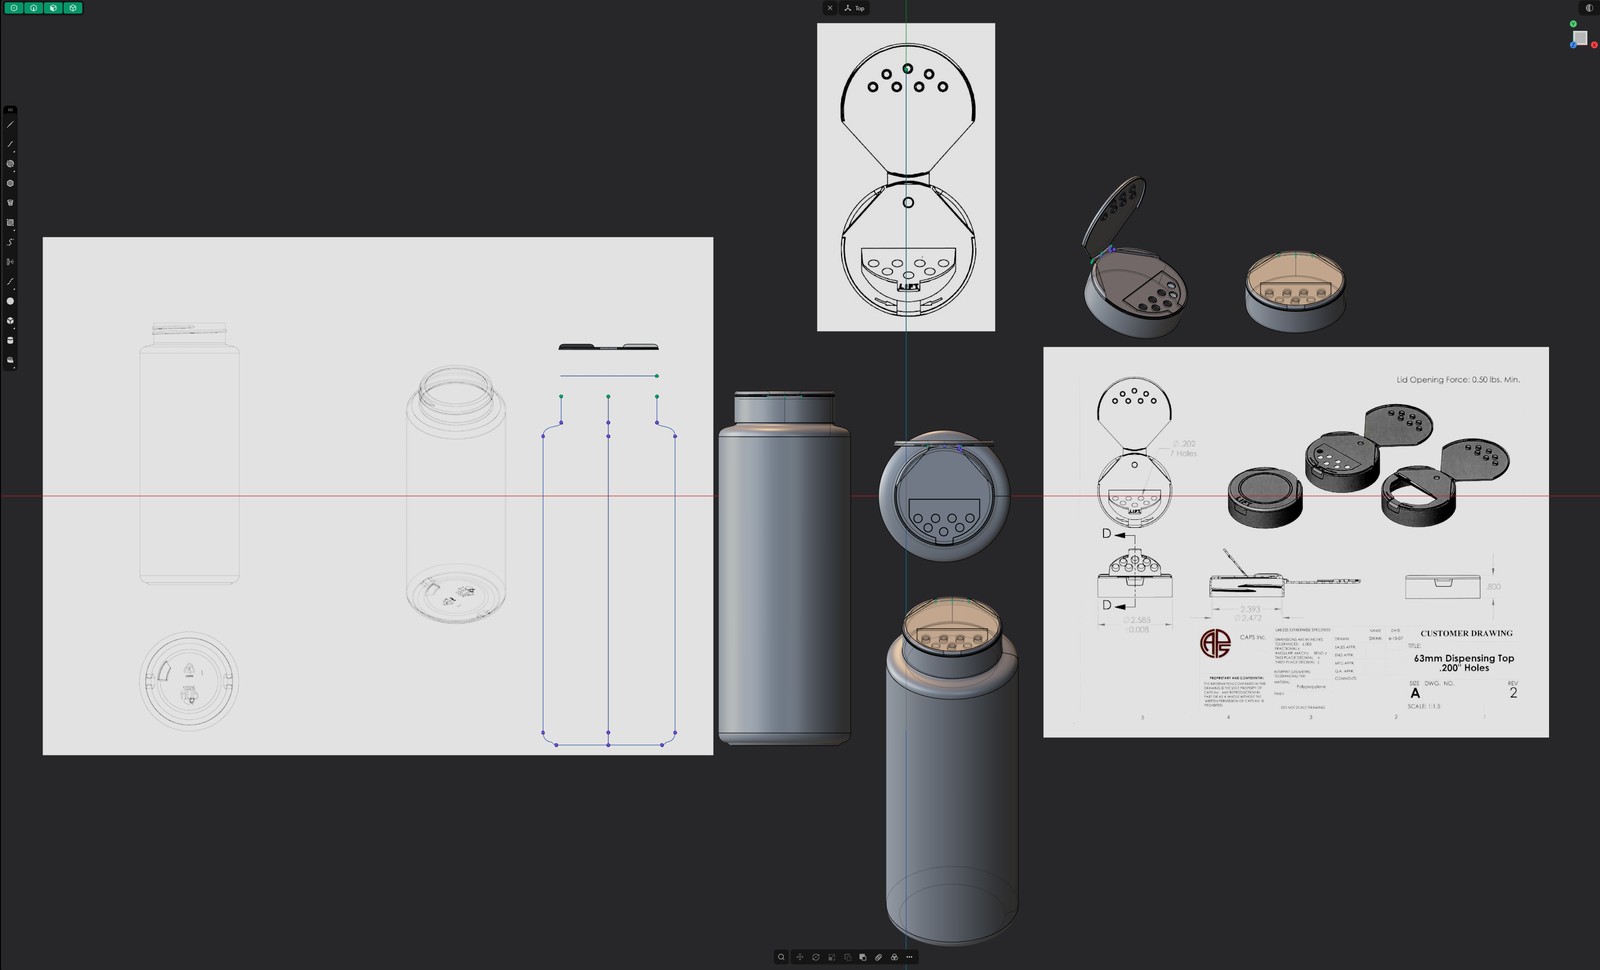
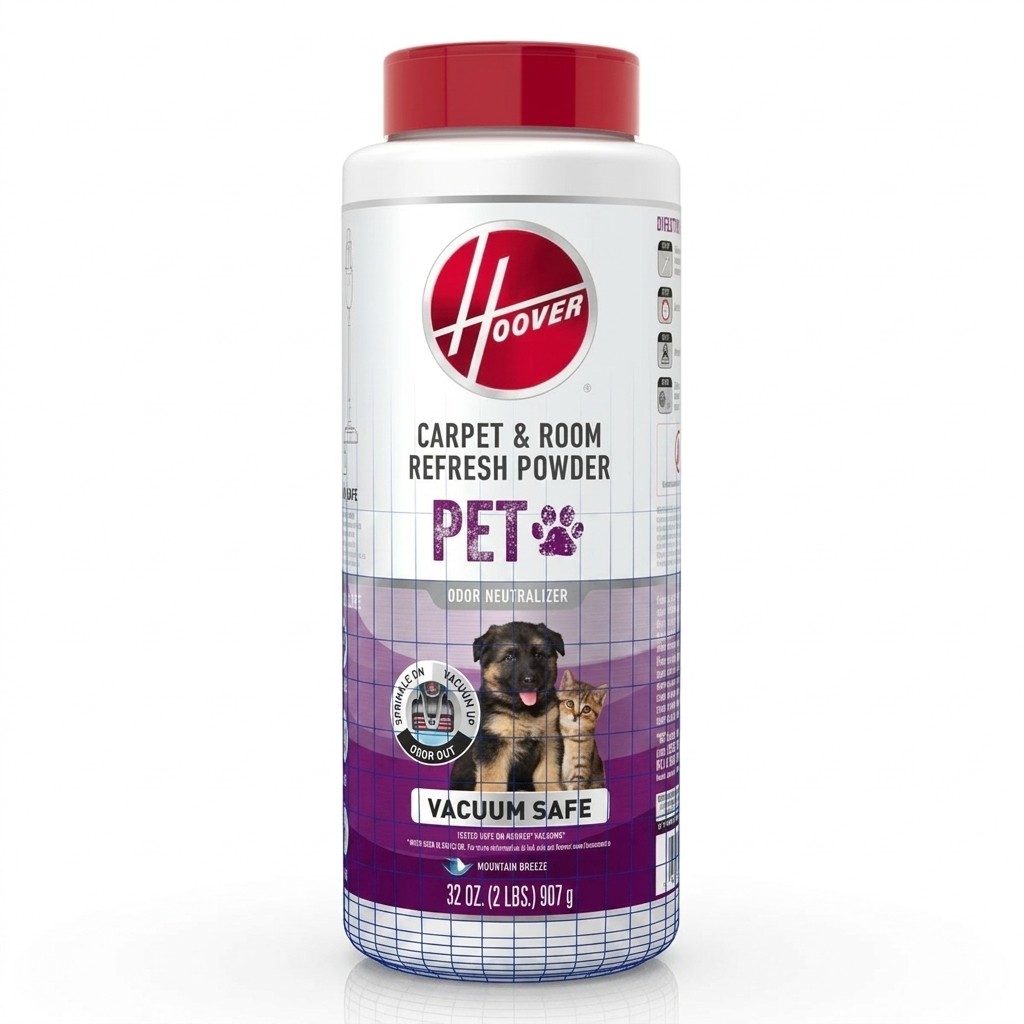
Scale also runs the other direction, down to a single feature. The Hoover Carpet and Room Refresh Pet Powder bottle looks like a simple container, but the real work is in the lid. Its proprietary two-hinge design is what dispenses the powder and gives the product its specific use, sprinkling the right amount rather than dumping it. We modeled the bottle and lid directly against the dimensional spec sheets so that mechanism reads correctly.
The finished render carries that accuracy into the marketing packshot. Drop the wireframe back over the final image and you can see the lid, branding, and label all sit on a model that matches the engineering exactly.
Why model instead of shoot
Once a product exists as accurate CAD, rendering it beats booking a photographer's time for most marketing work. A photo shoot spends hours building and tuning lighting rigs just to get one setup right, and the cable tray is a good example of how fussy that can be. Its perforated metal surface is exactly the kind of subject that fights you with reflections and hot spots on set. In a 3D scene the lighting is built once and then reused across every shot, so that time is spent solving the look rather than re-rigging it for each angle.
The bigger advantage is freedom. A render is not restricted by what a camera can physically reach, so there are no angles you cannot shoot, no rig in the way, and no product too large or too small to frame. The same locked model produces hero shots, top-down views, tight detail crops, and cutaways from one source, with no reshoot when a layout or a label changes.
From a full product assembly to one proprietary hinge, the modeling approach is the same: build accurate CAD, whatever the starting point, so every downstream deliverable holds up.